Product quality · Sample review · POD
Print-on-Demand Sample Approval Checklist: What to Check Before You Launch
Use a SKU-level approval record: identify the material and artwork version, inspect the finished item, define any wash tests, and sign off the packing experience before launch.
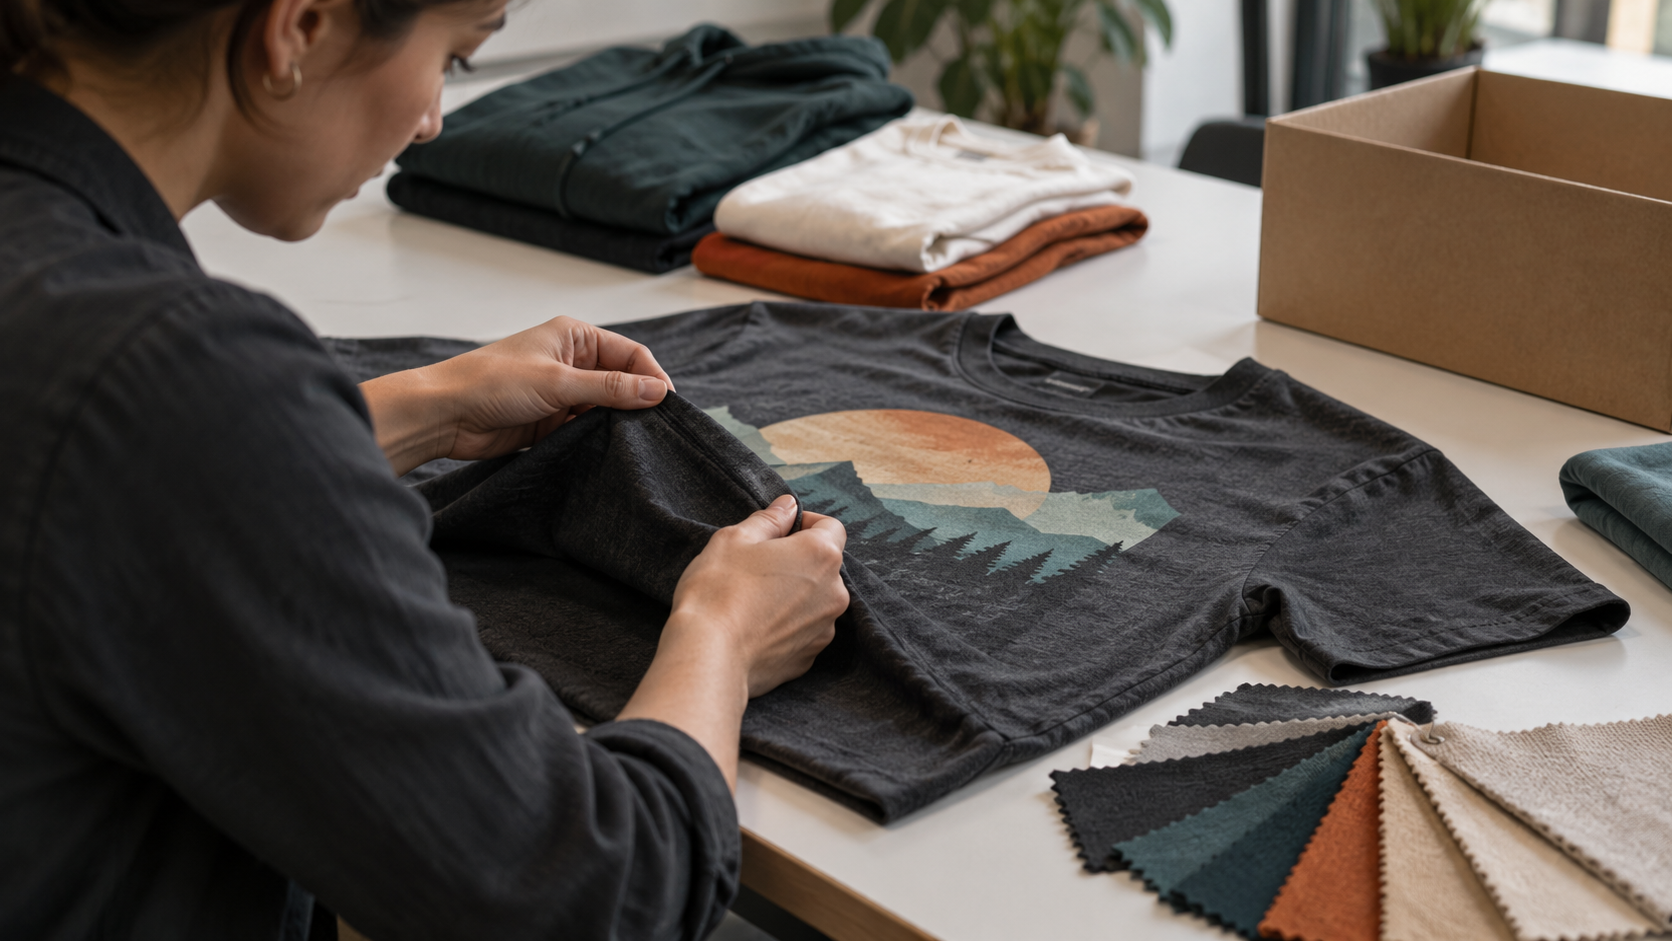
A mockup shows an idea. A physical sample shows what a customer may actually receive. Before listing a made-to-order product, check the garment or item, decoration, construction and packaging against one written specification. That review is especially useful when a range spans several materials, sizes or print methods.
1. Identify the exact item and the reference sample
Start with a current catalog listing or an agreed custom technical sheet. Record the SKU, material composition, GSM, cut, size, print method, substrate colour and planned production facility. These fields are not interchangeable: the listed unisex cotton AOP hoodie is 90% cotton / 10% polyester at 280 GSM, whereas the catalog’s polyester AOP hoodie is 100% polyester at 320 GSM. Both show sizes S–5XL but they are different products.
Give the physical sample an ID linked to the SKU, size, artwork filename and revision date. Photograph its front, back, details, label and packaging in consistent light. If one sample is size M, write down which other sizes still need fit or placement checks; do not approve an entire size curve by implication.
For a UK range, also record whether the sample came from Plymouth or Łódź. The UK and Polish facility pages list different technology profiles. Moving to another line, blank or substrate can require a new reference sample.
2. Compare the physical print with an agreed reference
Check artwork file version, colour under the agreed viewing conditions, scale, orientation, placement and fine detail. Use measurements from repeatable reference points—for example, the centre line, neckline or seam—rather than notes such as “slightly higher.” Record the agreed tolerance with the supplier; this checklist does not assume one universal tolerance for every product.
For cut-and-sew AOP, inspect the design at front/back joins, sleeves, side seams, hems and pockets. The Łódź facility publishes roll-to-roll AOP and cut-and-sew workflows, which is why a flat digital mockup cannot show the complete finished result. For a decorated hard good, inspect the print edge, wrap and surface finish for that specific substrate. Use the actual product template and approved file, not a generic all-over-print mockup.
3. Inspect fit, construction and performance
Measure the points agreed in the technical sheet, then compare the sample with the approved size chart and tolerance. Check seams, hems, drawcords, labels, print hand and any finish that matters in use. Record what passed, what needs a revision and what is outside the scope of this sample. A visual approval alone does not establish wash durability or dimensional stability.
If the brand plans to make care or performance claims, agree a test method and acceptance threshold before testing. ISO 6330:2021 defines domestic washing and drying procedures for textile testing; ISO 5077:2007 concerns dimensional change after washing and drying; and ISO 105-C06:2010 covers colour fastness to domestic and commercial laundering. These are examples of relevant published methods, not a claim that every Print Logistic product has been tested to them. Ask for a product-specific test report if the claim matters.
Keep the pre-test and post-test measurements, test conditions and result with the sample record. If you change the fabric, print method or care instructions, review whether that evidence still applies.
4. Approve what the customer receives
Inspect folding, protective packaging, inserts, branding, care information, barcode and packing documents. Open the sample package as a customer would, and note whether a single-item order differs from a bulk shipment. Confirm who handles a damaged print, wrong size, address error, return or replacement before the listing goes live.
For integrated stores, the Order Desk workflow describes SKU/artwork matching, missing-data checks, shipping-method mapping and selective routing. Send a test order and inspect the output: the correct garment variant, artwork version, shipping service and destination should all agree with the approval record. A good physical sample is not enough if the live order maps to a different item.
5. Record an explicit release decision
Identity
SKU, material, GSM, size, production route, sample ID and date.
Artwork
Approved filename/version, placement measurements and reference photos.
Checks
Fit, construction, colour, packaging and any agreed test results with pass/fail evidence.
Decision
Approved, approved with listed changes, or re-sample required; include owner and date.
Request a new approval when the blank, fabric, size or construction, print method, artwork placement or production location changes. The original sample may no longer represent the product a customer will receive. For a cotton-rich garment, compare the alternative routes in our cotton AOP guide; for a British range, review the UK vs EU production route.
Product examples checked 12 October 2026 against Print Logistic’s catalog. ISO links describe test methods only; testing, results and acceptance thresholds must be agreed for the specific product.
Ready to assess your first sample?
Send the proposed product, artwork and target market to Print Logistic. A clear brief helps turn sample feedback into a production decision.