Product planning guide · Print Logistic
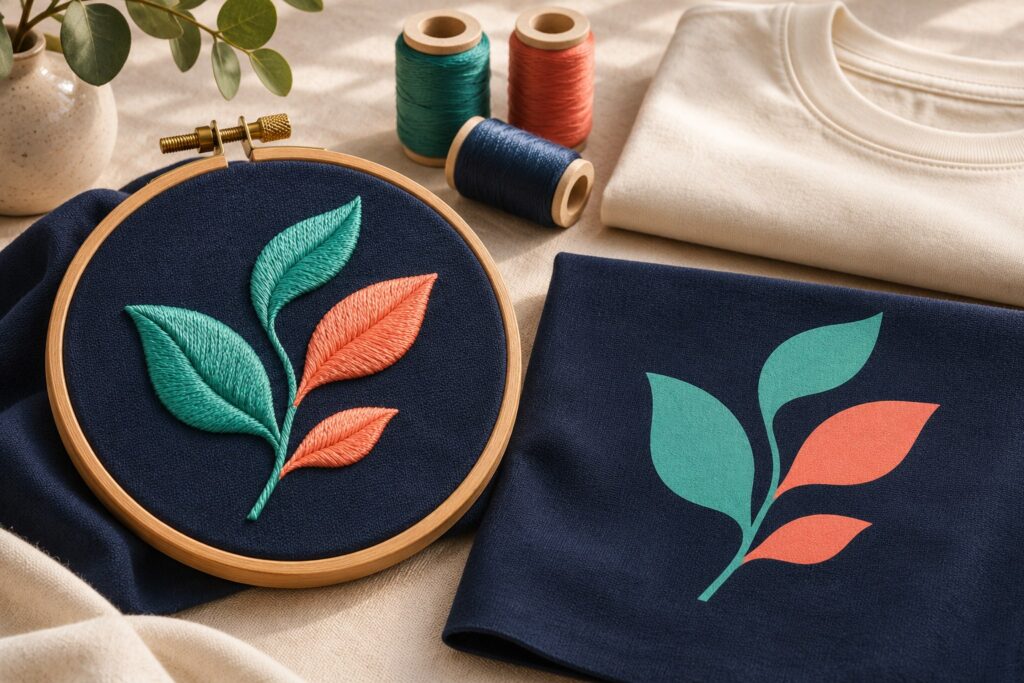
Embroidery and garment printing create different products from the same logo. Start with the appearance, fabric and wearer experience you want, then compare supported samples. Neither method is automatically the best choice for every brand, design or order size.
What changes when a logo is embroidered instead of printed?
Embroidery builds the design from stitches. Garment printing applies an image through a specified print process; DTG and direct-to-film are different examples. The resulting texture, handling and preparation requirements are part of the product, not minor finishing details.
| Decision | Embroidery | Garment printing |
|---|---|---|
| Visual character | Visible thread, stitch direction and a tactile surface. | A printed image whose surface depends on the method, fabric and ink coverage. |
| Artwork preparation | A digitised stitch programme suited to the fabric and production setup. | Print-ready artwork prepared for the selected process and placement. |
| Fine detail | Small letters and narrow gaps need stitch-specific assessment. | Fine detail still depends on the process, source file, scale and fabric surface. |
| Garment considerations | Hooping access, support materials, stability and the reverse of the decoration. | Usable print area, surface preparation and any treatment or heat requirements. |
| Quotation | Design preparation, stitch programme, size, placements and quantity. | Method, artwork area, placements, garment, setup and quantity. |
For the distinction between two digital print routes, read DTG versus DTF printing. This guide focuses on the decision between a stitched and a printed identity.
Start with the smallest detail and the intended size
Prepare the logo at the physical dimensions you want on the garment. A detailed crest that looks clear across a laptop screen may need simplification when reduced to a small chest mark.
For embroidery, ask which letters, thin lines, gaps and gradients need adaptation. Digitising is not simply saving the same picture with a new file extension. It sets out how stitches will build the design on the chosen product. Request an approval of the interpreted artwork and a sew-out where appropriate.
Madeira’s thread specifications include finer thread options for detail work, illustrating why one fixed minimum lettering size is not a universal rule. The digitiser’s confirmed specification takes priority for the actual design.
Printing can be a useful candidate for photographs, detailed illustrations and tonal artwork. However, a print process does not recover detail missing from a poor source file. Check transparency, contrast, fine elements and the final dimensions using the current print-file requirements.
Fabric and construction can change the answer
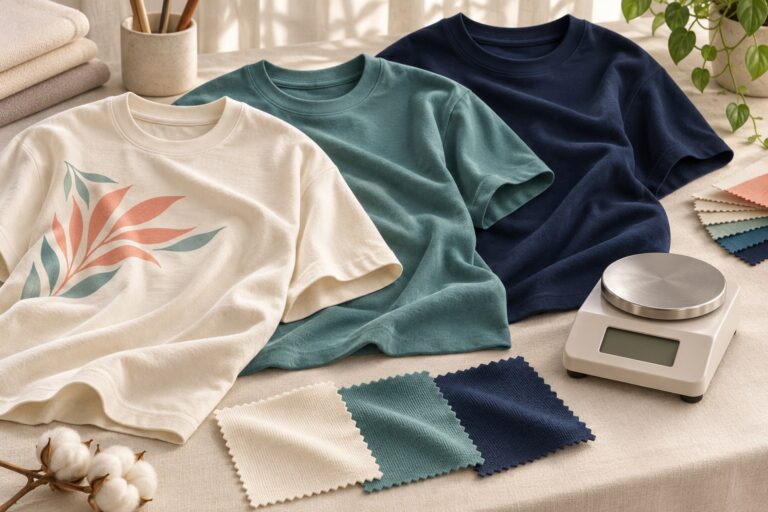
Choose the exact garment before approving either method. Assess composition, colour, surface, stretch, seams and access to the intended area. Use fabric weight and blank selection as part of that brief, rather than treating a higher GSM as automatic approval for embroidery.
Embroidery can distort a poorly matched fabric-and-design combination. Madeira’s guidance on puckering identifies several interacting factors, including digitising, stabilisation and hooping. Ask the production team to resolve these together; increasing stitch density is not a general solution.
For printing, material compatibility and preparation also depend on the selected system. Epson’s DTG and DTFilm overview demonstrates those process differences. Do not apply one manufacturer’s settings to a different machine or ink workflow.
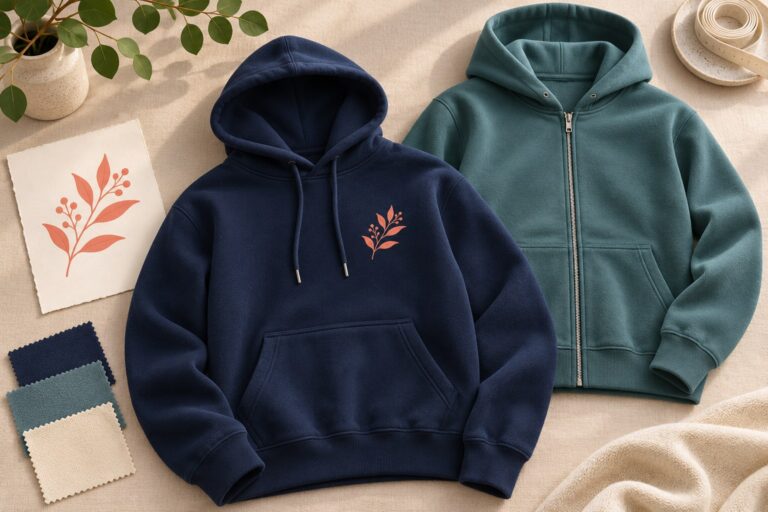
On a hoodie, a pocket, hood, zipper or layered area can change what is accessible. Our hoodie decoration guide sets out the placement questions to resolve first.
Compare the wearer experience, including the reverse
View the sample from normal wearing distance, then inspect it closely. A stitched mark can be exactly right for a textured brand identity while a large printed illustration may better preserve the intended visual language of a graphic collection.
- Handle the decorated area and judge its weight, flexibility and feel.
- Check what touches the wearer, including backing or finishing where relevant.
- Inspect the blank around the design for distortion or visible treatment effects.
- Check the smallest text under the same lighting for both samples.
- Follow the agreed care instructions, then assess the whole garment again.
- Approve important brand colours physically; thread, ink and a backlit screen are different references.
Do not make a universal durability promise based only on the method. The fabric, thread or ink, application, finishing and care all belong to the approved specification. Record observations without inventing a wash-life figure.
Compare quotes for the product you will actually sell
Ask for the same blank, colour, sizes, visible design dimensions, placements, order quantity and finishing in both quotes. State which adaptations are acceptable. A small embroidered logo and a large multicolour print are not a like-for-like price comparison.
Separate design preparation or digitising, samples and repeat production charges. Ask what changes require new preparation or approval: size, placement, fabric or a revised logo can matter. Check any minimums and reorder conditions instead of assuming an old stitch file works unchanged.
Use the full cost and margin model to include finishing and delivery. Decoration choice and order model are separate decisions; compare individual POD with planned bulk production when deciding how to launch.
Where does Coloreel embroidery fit?
Coloreel is an embroidery-thread colouring technology, not another name for a flat garment print. It changes the way thread colours are introduced while the design is still made from stitches.
Coloreel’s digitiser resources describe its specific thread-management workflow. That does not make every photographic file automatically stitch-ready or remove the need to assess the fabric and sew-out. The design must suit the process.
Print Logistic describes the technology in its Coloreel embroidery overview. Confirm current availability for your exact product, artwork, quantity and production route.
A practical brief for a print-versus-embroidery sample
- Identify the garment, colour, size range and intended placement.
- Provide the logo source and specify the required physical dimensions.
- Mark essential details and what may be simplified.
- Describe the intended appearance and what will touch the wearer.
- Request comparable samples and separate preparation from repeat-order pricing.
- Approve colour, placement, feel and after-care results against one recorded reference.
Keep the result with your sample approval checklist. Explore supported blanks in the catalog and discuss coordinated branded collections through Wholesale.
Embroidery versus printing: common questions
Is embroidery always more expensive than printing?
No universal comparison works. Compare the specified design, preparation, garment, placements and quantity, then include the other costs of delivering the order.
Can I combine embroidery and printing on one garment?
It can be a production option, but the combination, access, placement and processing sequence must be confirmed for the chosen garment. Sample the combined product.
Is embroidery only suitable for simple one-colour logos?
No. More complex designs and colour effects may be possible with an appropriate workflow. Artwork still needs stitch-specific preparation and approval.
Plan your production with Print Logistic
Send your logo, intended size and placement, plus the exact garment or a product shortlist. We can discuss suitable decoration and sampling options for your brand.
Discuss your production planReferences and further reading
- Madeira: thread weights and fine-detail applications
- Madeira: factors affecting embroidery puckering
- Epson: DTG and DTFilm processes
- Coloreel: digitising and thread management
Prepared 3 November 2026. Product availability, specifications and decoration options should be confirmed for the selected workflow. Cover image: editorial illustration.